
[Title] [text TOC] [image TOC] [Site Search]
 [Donation]
[Donation]
[Donation]
| Leather |
|---|
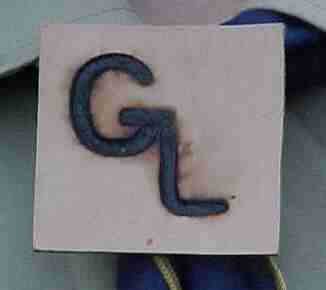
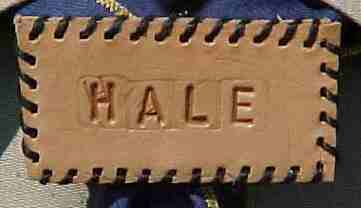 Stamped Name |
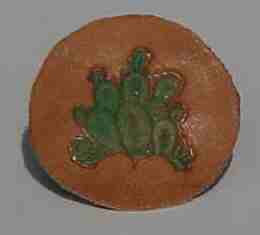 Stamped Picture |
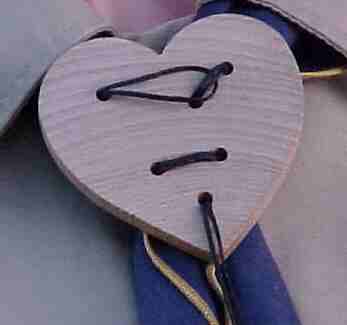
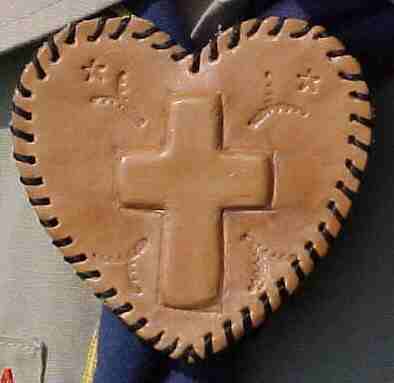 Embossed Cross on Heart |
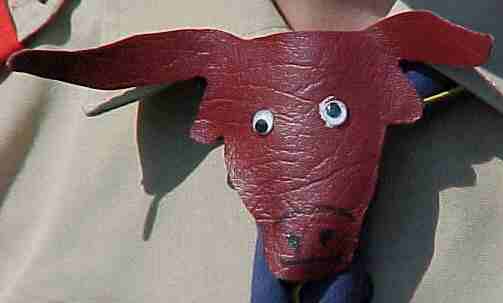 Bull |
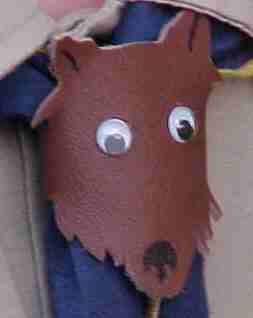 Wolf |
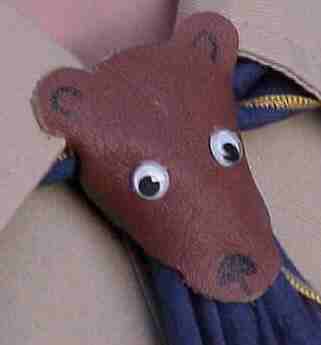 Bear |
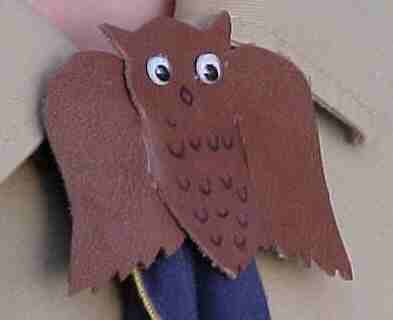 Owl |
 Puzzles |
 Cowboy Chaps |
 Easy Pouch |
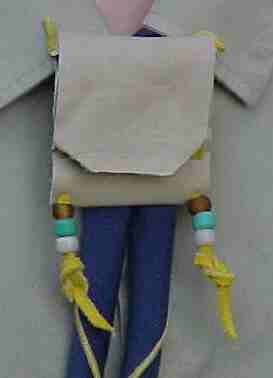
 Medicine Bag |
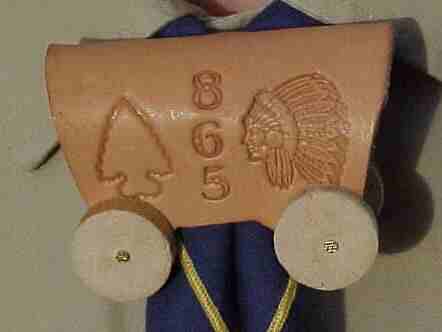 Covered Wagon |
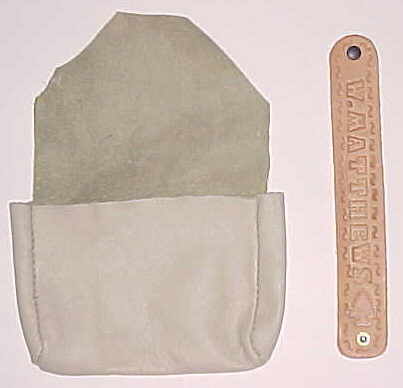
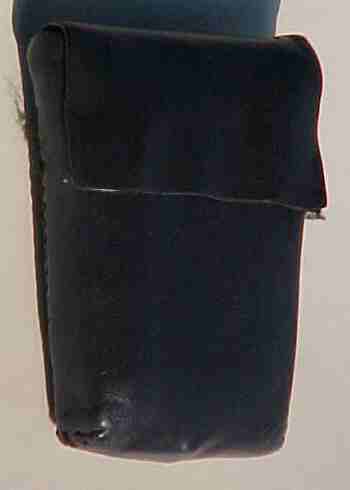 Pouch or Case |
|
 Branding |
 Elephant |
You might also be interested in these slides made of leather.
Working with leather is a great activity for almost any age. The tools can get expensive, but if they are treated properly, they will last a long time. The easy projects like the stamped picture are great as an activity for the last Tiger Cub meeting. The more complicated ones like the stamped name or pouch make good Webelos Craftsman projects.
There are two types of leather - stamping leather and non-stamping leather. Non-stamping or garment leather is used for seat coverings in vans and cars, furniture, clothes, shoes, purses, etc. It is usually dyed to a color other than tan. Stamping leather is tan and usually thicker than non-stamping leather.
Non-stamping leather scraps and vinyl can be obtained quite easily in fairly large quantities from businesses that decorate the interiors of vans and private airplanes, or upholster furniture. On most projects that call for non-stamping leather, vinyl can be substituted.
Stamping leather is more difficult to obtain. It usually must be purchased from stores such as Tandy or the Leather Factory. Some general craft stores will have limited supplies of leather craft materials.
The most economical way to purchase leather is to buy a belly or shoulder. Watch for sales. The disadvantage of buying a large piece of leather is that you must cut it to the shape you want. Cutting can be done either with a VERY sharp knife or leather shears. Square and rectangular shapes are easy to cut. Anything with curves is more difficult. Try to cut with a smooth, continuous motion rather than many short cuts. A beveller is used to round the edges to make them look smoother.
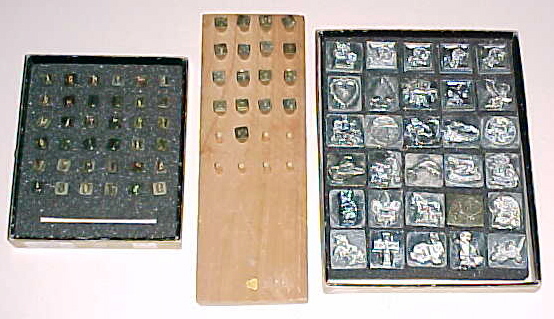
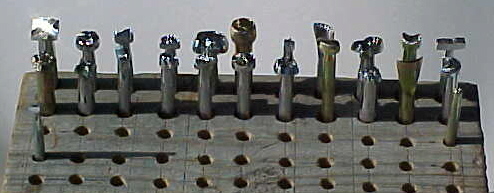
Next, you need to know how to stamp the leather. First, let's look at some of the tools you may need. There are probably many different ways to categorize stamps, but for the discussions in this book, we will divide them into two types. One category of tools makes images of identifiable objects such as animals, plants, flowers, Boy, Cub, and Girl Scout symbols, letters, and numbers. They are usually at the center of the project. The other category makes images that are used for decoration. They usually don't have specific names, they are just pretty or fancy or decorative. Combining different stamps can make an endless variety of unique designs.
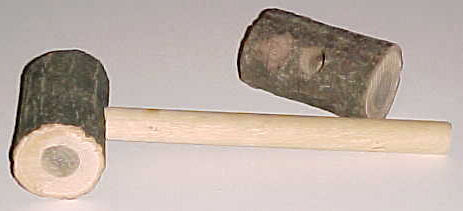
A mallet is used to hit the stamp. Buying mallets for a group can get expensive. However, mallets can be made from a piece of dowel rod and branches of hardwood trees about 2 inches in diameter and 4 to 5 inches long. Drill a 3/4 inch hole halfway through the middle of the branch (mallet head). Use a piece of 7/8-inch dowel rod about 9 to 10 inches long (five can be made out of a 48-inch dowel). Taper one end of the handle so that it fits snuggly inside the hole. Add some wood glue and pound the handle in place.
You will also need something to place the leather on before stamping. You don't want to mess up tables, desks, or floors. Scrap pieces of 2x8 lumber about a foot long are adequate for this.
A sponge and bowl of water are also handy for wetting the leather.
The larger the stamp the harder or the more times you have to hit it to make an impression. The larger object tools (sometimes called 2D or 3D) are particularly difficult especially for kids. One method that can be used is to tip the stamp to one side and hit it, tip it to another side and hit is again, continue around in a circle until the impression is to your liking. Be sure to hold the stamp and handle firmly on the leather while hitting it. Otherwise, the stamp will have a tendency to bounce and you will get multiple images.
When you are using these stamps, one side of the impression will frequently be darker (deeper) than the other due to uneven pressure. To correct this lean the handle 1/4" to the side with the light impression and hit the stamp again.
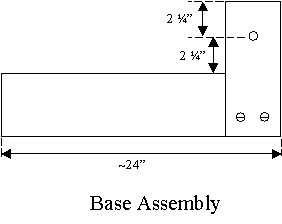
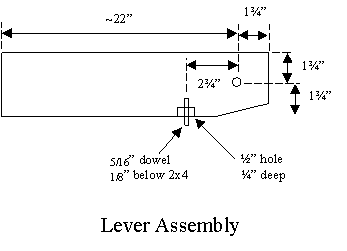
Another method is to build a leather press. You will need one piece of 4x4 about 2 feet long, one piece of 2x4 about 2 feet long, two pieces of 2x4 about 10 inches long, one 1/2 inch carriage bolt 7 inches long and 4 wood screws about 3 inches long. Drill and assemble as illustrated. The critical part is the stamp holder. First drill a 5/16 inch hole 1 inch deep into the bottom of the lever. Next drill a 1/2 inch hole 1/4 inch deep. Insert a 5/16 inch dowel 1 1/8 inch long into the center. Glue in place with wood glue.
 |
 |
The important thing is that the stamp must be flat about 1/16 inch above the base. A flat piece of metal about 2 or 3 inches square can be placed at the point where the stamp would contact the base. If the metal plate is not installed, the stamp will eventually indent the wood making for an uneven impression. An uneven impression may be corrected by rotating the stamp and leather 180 degrees, carefully align the stamp and press again.
There are two sides to leather. A flesh side, which is usually rough, and a skin side, which is smooth, and you can see pores. Stamping is always done on the skin side of the leather.

Before stamping leather, it is necessary to wet it slightly. This can be done either by wiping the smooth or skin side of the leather with a damp sponge or with a spray bottle. Get it uniformly moist, but not dripping wet. The leather is wet when the surface turns a uniform darker shade of brown. Let the leather dry until it turns a lighter tan. It should still feel moist to the touch. Now it is ready for stamping. Judging the correct dampness of the leather takes practice. Get some scraps and have fun.
When you stamp the leather the stamp should penetrate slightly into the surface leaving a darker brown at the bottom of the impression. If the impression is very light and not very deep, then the leather is too dry. If the impression is deep and has no dark brown at the bottom of the impression, then the leather is too wet.
Leather can also be painted. Permanent markers, paint pens, and acrylic paint all work well. The markers and pens are easier for younger children. It takes a steady hand and patience to paint with a brush.
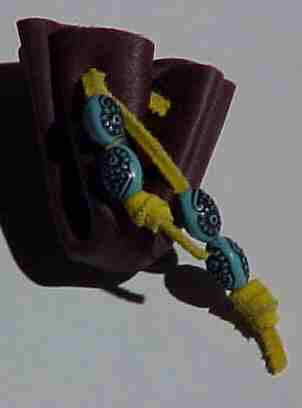
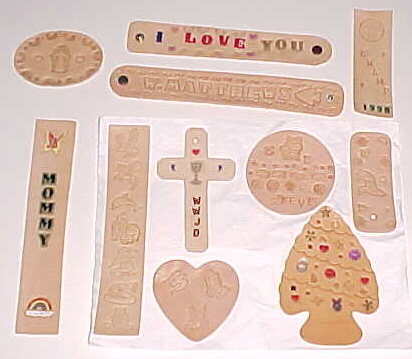
Some ideas on things to make are coasters (3 to 4 inches round), medallions (coaster using leather lacing to make it a necklace), bookmarks (1x6 inches), neckerchief slides, wristbands, and ornaments. Many shapes such as hearts, octagons, circles, ovals, arrowheads, and crosses can be purchased at general craft or leather craft stores.
Rings can be glued to the backside of the leather with hot glue. A "D" shaped ring works best because of the larger area for glue to adhere to.
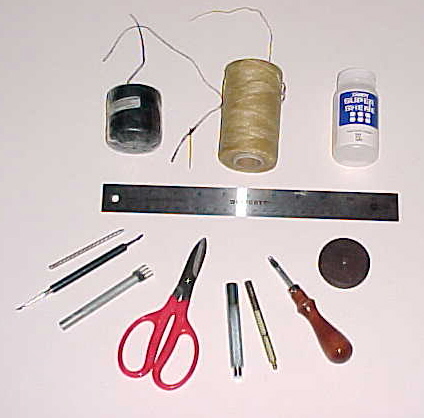
A sealer called "Super Sheen" (see photo below) can be applied after the paint has dried to encase the leather in a protective barrier. This gives the leather a darker appearance and a shine and prevents the leather from getting wet or stained. A sealer may not be necessary unless you anticipate the piece getting abused.
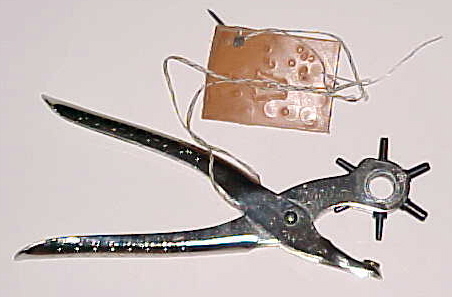
Holes can be punched in leather using a leather punch. One good hint with a hold punch is to always place a second scrap piece of leather beneath the piece you want to punch. This way the punch will go completely through the masterpiece and into the second piece of leather. Without the second piece of leather, the punch frequently does not go completely through and it is difficult to cut through the last thread. In addition, the second piece of leather protects your punch from hitting the hard metal anvil and dulling it. Notice the nail in the piece of leather in the photo below. This comes in handy to remove holes from the punch.
If you are doing lacing, use one of the tools shown below to make the work go easier and faster. Be sure to use a scrap piece of wood under the project or you will have a design on your work surface. The four prong tool is placed on the leather near the edge (1/8") and hit with a mallet until it is completely through the leather. Remove the tool and move it down the edge to do the next wholes. Place the first tine in the last hole to get even spacing. Use the one tine tool finish up or get into hard to reach places. They make tools for different sized lacing - be sure to get the size that is right for your project. Also pictured are waxed thread and large eyed needles.
References:
Just Tooling Around by Ben Moody published with: The Leather Factory
How to Lace Midas Leather Tool Co.