[Title]
[text TOC]
[image TOC]
[Site Search]
 [Donation]
 |
Simple Santas |
 |

| Materials |
Tools |
4" x 2" x 1/2" basswood
Screw eye |
Scroll Saw
Glue stick
Knife
1 mm V-tool
Paint and brushes |
See the Wood Carving section for more instructions, hints and tips.
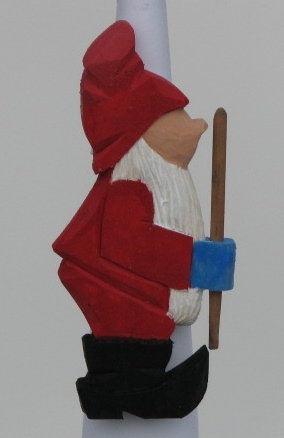
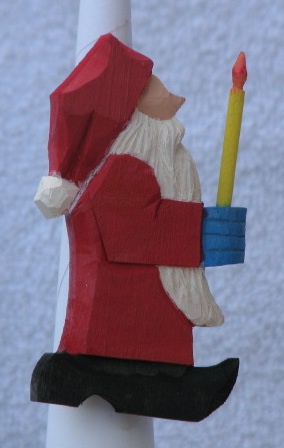
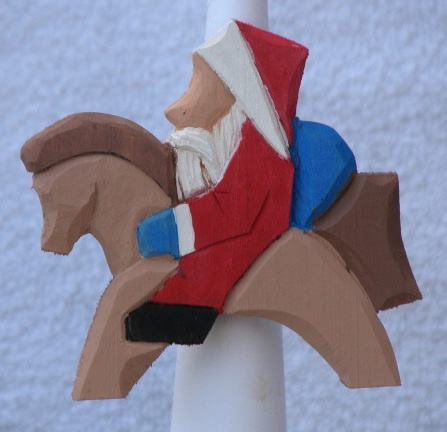
This style of carving is very flat and square. For the most part, the curves are approximated by angled cuts. The exception is the face which is rounded.
This style makes for fast and easy projects. With a little practice you can carve one in an hour. Experienced carvers may be able to do them in 15 minutes.
Preparation
- Print the front view layout, cut it out, glue on the basswood with a glue stick.
- Cut out using a scroll saw.
- You can carve either one side or both sides. If you want to carve both sides, glue the back view layout on the back side. Then draw the center line around the perimeter of the cut-out.
Carving
- The cuts on the outside corner edges are scooped out at a 45 degree angle. Leave a little bit of the original corner edge at both ends.
- If you are carving both sides, round between the front and back important features like the face and beard. Other features like the coat and shoes can either be rounded or just one 45 degree scoop cut on each side to approximate the rounding.
- On the interior, most of the cuts use a straight in (vertical) stop cut with an angled cut to it. Use this where there is a transition from one object to another. For example, the bottom of the coat and the pants. Make a vertical stop cut at the edge of the coat. Angle in a cut from the pants side. This makes it look like the pants go under the coat. Where the arm sleeve is over the coat, make a vertical cut along the sleeve and an angled cut on the coat to make it look like the coat is behind the arm.
- The order of carving doesn't matter much. I like to do the hat first, then the shoes. I save the face and beard until last. The beard and face are the lowest part of the carving.
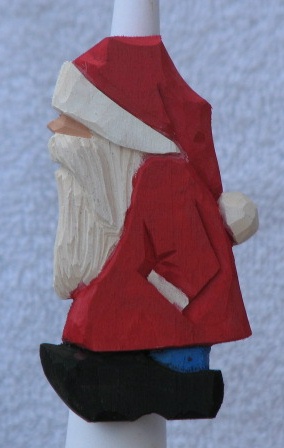
- After you have finished all the carving, add texture to the beard. Make random cuts with a small V-tool. Make the general direction down, but vary the length, width, and depth of the gouge cuts. Make them a little wavy. Brush away any slivers that hang on. You may need to take a knife to the stubborn ones.
Finishing
- Attach a screw eye to make an ornament. Of course, if you want to make a neckerchief slide, you only have to carve one side. Attach a PVC ring to the back using E-6000™ glue.
- Remove the remaining paper with a knife (careful not to gouge into the wood) or with sandpaper.
- Remove any remaining glue by rubbing with your finger. Be sure to get it all off or the paint won't stick.
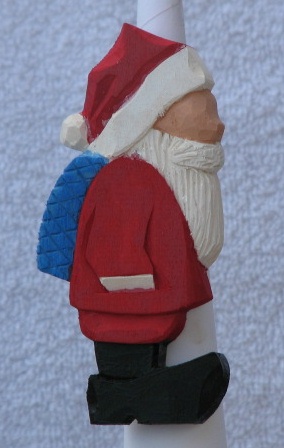
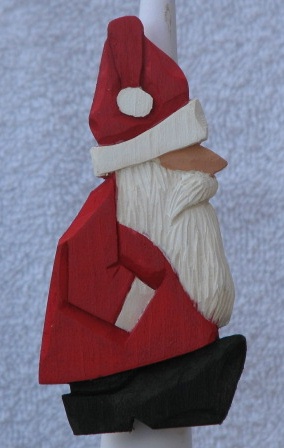
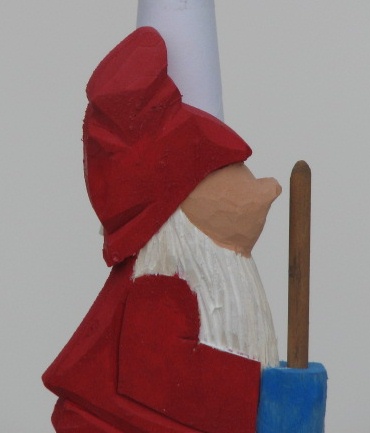
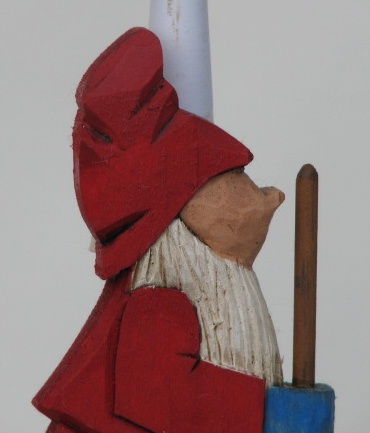
- Paint as desired. Paint in this order: black, blue, red, white, and flesh. The Santa in the photo has acrylic paint water down by about half. After this dries, apply a coat of Watco™ Dark to give it a less even finish so it doesn't look like so much like plastic (see photos below). It also gives more depth to the features by making the low parts darker.
 |
 |
| Before |
After |
Thanks to Dean Walden for teaching this project to me.
Copyright © 2009 Vincent Hale