
[Title] [text TOC] [image TOC] [Site Search]
 [Donation]
[Donation]
[Donation]
| Friendship Knot |
|---|
| Materials | Tools |
|---|---|
|
17" parachute cord or 21" of 3/16" rope Thread or thin string |
|
See the String Chapter for more instructions, hints, tips, and ideas.
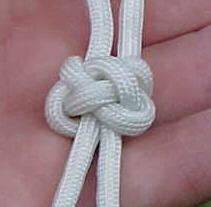
This is a real pretty knot. It isn't very hard to tie either. It is often given as a token of thanks or friendship and is tied with smaller rope or string and hung over a pocket button. The pictures below were made using parachute cord. I think it looks best using a stiff rope that holds it shape better. It doesn't look very pretty tied using a twisted or fuzzy string.
This makes a good activity at a retreat. They could be made from different colored and sized rope. Trade them with a special friend you've made at camp. Or use them at a religious retreat as a symbol of unity.
|
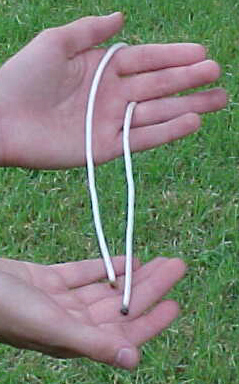
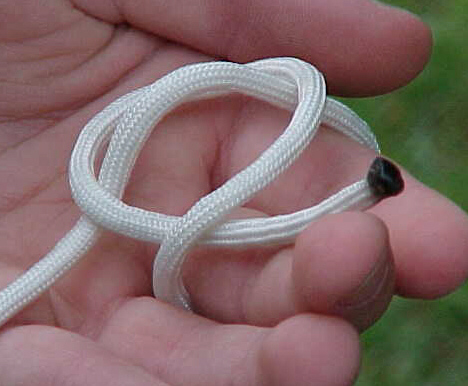
Fold the rope in half and drape it over your top two fingers. We'll call the two ends "F" for front and "B" for back. |
|
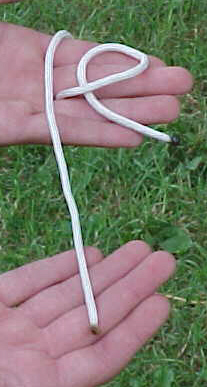
Make a loop in the "B" end. Make sure the end goes UNDER the loop. |
|
Next lay the loop over the "F" end. |
|
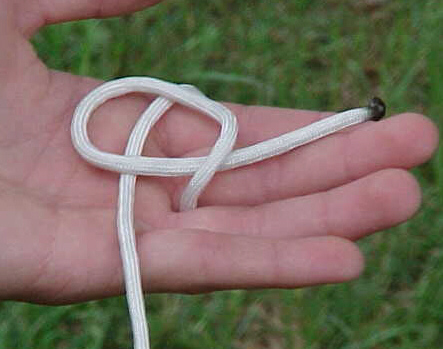
Take the end that goes under the loop and pull it up slightly through the loop. |
|
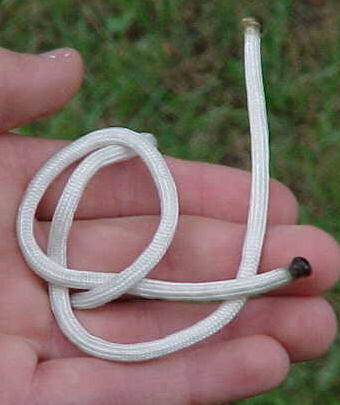
Now take the "F" end and move it around and under the "B" end. |
|
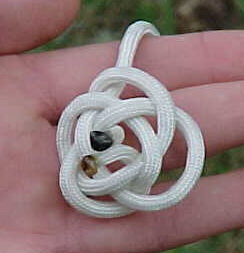
Next, thread it over the loop and under the rope that you pulled up in the middle of the loop. The shape you have should look like the picture. Note the diamond shape in the center. Also, note that you have made a loop around your two fingers. |
|
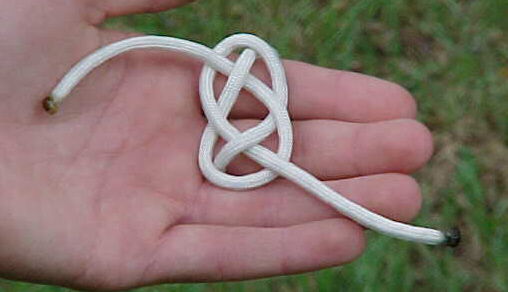
Take one of the ends and loop it around the outside of the loop that is around your fingers. Then slide it up through the center of the diamond. |
|
Do the same with the other end. |
|
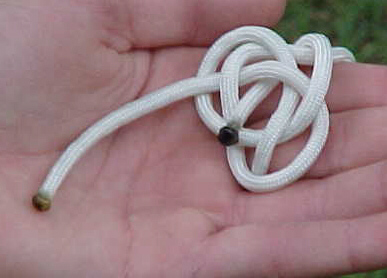
Hold the two ends, "B" and "F", tightly in one hand and the loop that went around your fingers in the other. Pull the ends apart. |
If the knot is loose in some spots, work the loose part up to the part with the loop. If you work it to one of the ends, they won't be the same length. Which way do you work it to get it to go to the loop? Follow the rope - it will end up either at one of the ends or the loop.
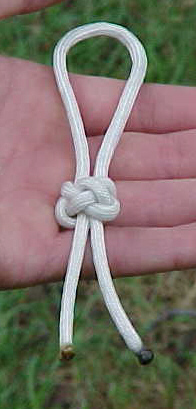
To make a neckerchief slide, use 3/16" cotton/poly clothesline rope. Tie the friendship knot. To keep it from fraying, you can either put some white glue on the ends or whip them. If you whip the ends 3/8" or so from the end and allow the end to fray, it looks pretty.
To make the ring for the neckerchief, stretch the loop out flat. Measure about 1 1/2" from the end of the loop. Wrap a thin string several times around both sides of the loop to pinch it off. Then tie the two ends of the string together and cut off any excess.