
[Title] [text TOC] [image TOC] [Site Search]
 [Donation]
[Donation]
[Donation]
| Eye of God (Ojo de Dios) |
|---|
See the String Chapter for more instructions, hints, tips, and ideas.
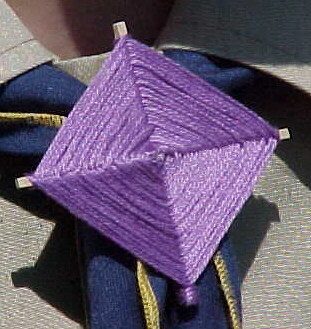
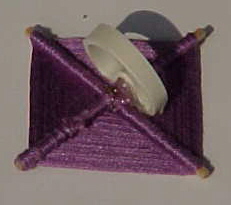
The Ojo de Dios or Eye of God is a symbol of the power of seeing and understanding unknown things. It is commonly found among the Huichol Indians of northwestern Mexico. The four points represent earth, fire, air, and water. In making an Ojo, we are expressing a prayer that the eye of God will watch over us (or the person we are making it for) and grant us (them) health, fortune, and a long life. The Ojo becomes a physical representation of the prayer.
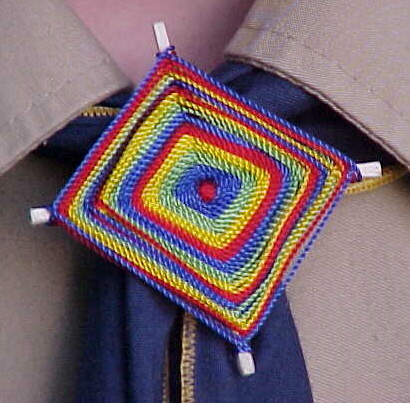
These neckerchief slides are great for wearing to Scout Sunday, religious retreats, or any other religious activity. They also make great Girl Scout SWAPS. They are so easy to make that you could make a lot of them to hand out as rewards. They also come in handy to fill out an extra few minutes at the end of a meeting. Ahead of time just glue the wooden sticks together (using hot glue) and cut the string or yarn to the correct length and wrap it loosely around the sticks. Larger ones made with Popsicle sticks and yarn make good presents, maybe as a service project to give to the residents of a nursing home.
| Materials | Tools |
|---|---|
|
2 3" square mini craft sticks 25' string or 7' yarn¹ PVC ring |
Hot Glue Glue Scissors Film Canister |
Hints:
Instructions:
If you don't have enough string, or you want to make a multi-color Ojo, strings can be tied together using a square knot. The knot will be wider than the rest of the string so it will tend to go behind the adjacent strings and thus will not be visible from the front. Put a drop of glue on the knot and rub it into the knot. Leave the loose ends of the string attached and keep them on the back side of the project - this will ensure that when you do cut off the ends, that the remaining string will be out of sight on the back of the project.
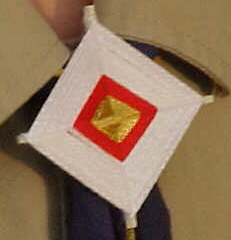
Ojos can also be made using about 10' of plastic craft strip instead of string. Secure the beginning of the craft strip with a piece of thin wire. Use hot glue or E-6000™ to secure the end of the craft strip.
To make a neckerchief slide, use a heart shaped PVC ring and glue with hot glue or E-6000™. If you want to use an oval shaped PVC ring, hot glue it to the stick that it lying on top. Another option is to attached the ring using a 3" piece of thin wire.
To make an ornament, tie a string to the top of the stick or make a loop out of the last of the string.
Make a Girl Scout SWAP by sliding a safety pin on the end of the string before you tie it off with an overhand knot. Use superglue to secure the knot since it will have a lot more tension than normal. Also, a pin clasp could be glued to the back in the same manner as the PVC ring.
Ojo de Dios can be made into much larger decorations using craft sticks or dowel rods and rope or yarn. They can also be made with three or more sticks and even in three dimensions.
Cotton crochet thread works real well. Rayon tends to stretch AFTER it is on the project, so avoid it.
The children I have taught this to really enjoy it and almost never tire of making them. Once they get the idea of how to make them, they can do it almost unsupervised. They love to experiment using several pieces of different colored string.
Feathers and beads can be attached to the ends of the sticks using string to decorate it more.
For a really flashy God's Eye, try some of the multi-colored string or metalic string that is available.
See the references below for different ideas and styles of wrapping. With some practice, you can make some really incredible projects.
REFERENCES:
Ojo De Dios * Eye of God by Charlet Albaum
The Regional Creative Ojo Book by Diane Thomas