
[Title] [text TOC] [image TOC] [Site Search]
 [Donation]
[Donation]
[Donation]
| Bubble Recipe |
|---|
| Materials | Tools |
|---|---|
|
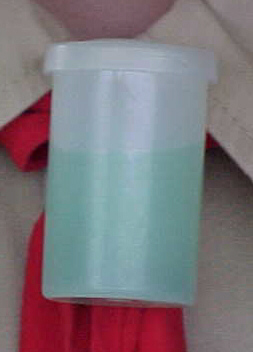
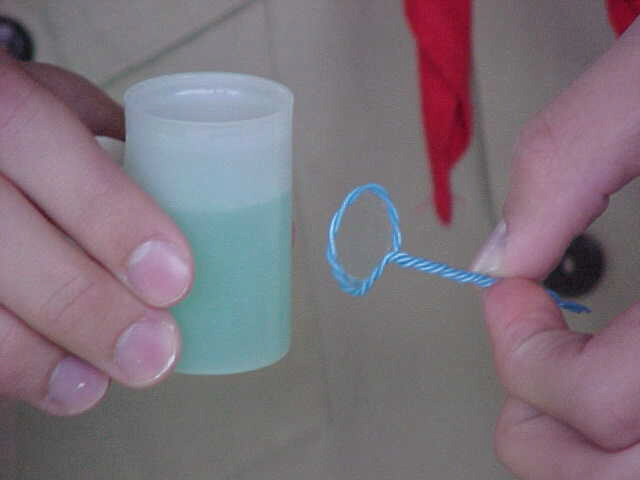
20 parts water 1 part light corn syrup 2 parts liquid dish detergent 12" thin wire Film canister PVC ring |
Bottle with tight lid Spoon E-6000™ glue |
See the Science Chapter for more instructions, hints, tips, and ideas.
Blowing bubbles on a spring day with a light, gentle breeze is the best. Kids love to chase and try to catch the bubbles. It can keep them occupied for a long time.
This recipe makes strong bubbles that last a long time. It can be made in any quantities. The parts can be cups, tablespoons, teaspoons, or whatever.
To make a wand, take the wire and fold it in half. Start at one end and start twisting the wire together. After you have twisted the wire completely, find the middle of the wire and make a loop in it by wrapping it around something small like your little finger. Twist the remainder of the wire together to form the handle.
Bubbles form perfect spheres because that shape has the minimum surface area. The colors in the bubble are caused by the light being refracted by the liquid. The colors vary because of the changing thickness of the bubble.
Indoors, you can play a game of basketball. You need a target (this can be a basket, bowl, plate, or anything else. Have the participants stand behind a line. They blow their bubbles and try to direct them so they hit the target. For smaller children who have trouble directing their blows, let them use straws.
Turn this into a teaming game by having the team stand in a circle around the target. They have to work together to get the bubble to hit the target. Give each team a specified amount of time to see how many bubbles they can make hit the target.
To make the neckerchief slide, use 1/4-teaspoon parts. Glue a PVC ring to the film canister using E-6000™ glue. If you are pressed for time, either glue the rings on ahead of time or use hot glue.