

[Title]
[text TOC]
[image TOC]
[Site Search]
 [Donation]
 |
Mouse |
 |
| Materials |
Tools |
5" Candy cane
5" x 2.5" felt
1.5" x 3.5" felt
Black felt
2 Wobble eyes |
Scissors
Pen
Hot glue
Knife |
See the Miscellaneous section for more instructions, hints and tips.
You might be interested in the history of the candy cane.
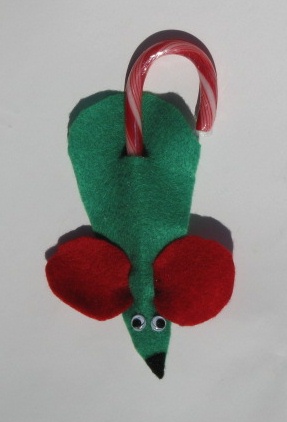
You can use just about any color felt for the ears and body: red/green, green/red, pink/red, pink/brown, or pink/white.
- Draw the mouse body on the large felt and cut out.
- Draw the mouse ears on the small felt and cut out. The ears are 1.5" diameter circles with a 1/2" bar between them.
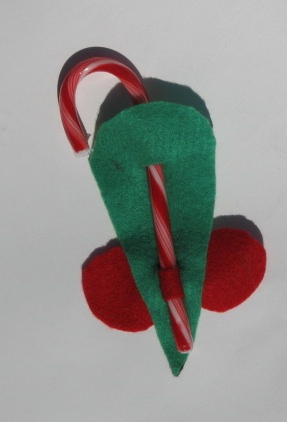
- Make the slits for the ears to slide through. Fold the nose back about 1 3/4" and make two cuts 3/8" apart and about 1/4" long at the fold. The resulting slits will be about 1/2" long because you are cutting through two layers.
- In the middle of the body about 1" from the back end, use a knife to cut a single slit about 1/2" long.
- Cut out a small black triangle about 3/8" long for the nose.
- Hot glue the eyes and nose in place.
- Roll one ear up into a tube and insert it through both slits on top of the mouse. Make the slits larger if necessary.
- Insert the candy cane through the hole in the back end and run it under the ears to hold it in place.
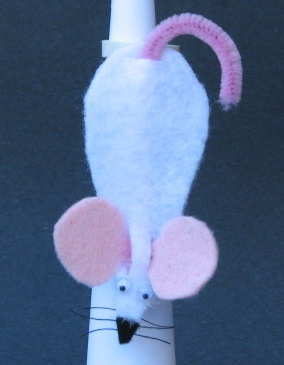
To make a neckerchief slide, use a 5" chenille instead of the candy cane. Make it the same color as the ears. Make the body about 3.5" by 1.5" and the ears 2.5" by 1". Hot glue the tail in place. Hot glue a PVC ring to the back under the head. I added several black threads 2" long for whiskers.
Copyright © 2009 Vincent Hale