
[Title] [text TOC] [image TOC] [Site Search]
 [Donation]
[Donation]
[Donation]
| Book Worm |
|---|
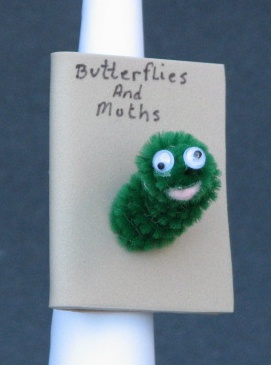
| Materials | Tools |
|---|---|
|
3 1/2" x 2 1/4" foam Green chenille 1 1/2" x 2" white foam 2 wobble eyes Pink felt PVC ring |
Scissors Pencil Hot glue Hole punch |
See the Chenille section for more instructions, hints and tips.