

[Title]
[text TOC]
[image TOC]
[Site Search]
 [Donation]
 |
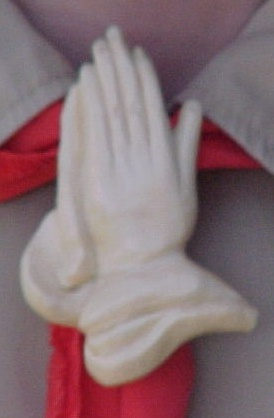
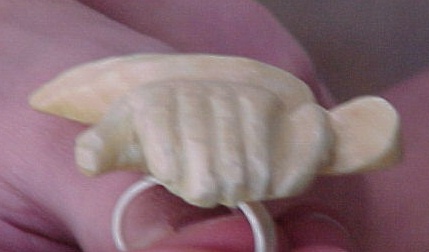
Praying Hands |
 |
| Materials |
Tools |
3 1/2" x 2 1/2" x 3/8" basswood
PVC ring |
Stick Glue
Knife
Pencil
Sandpaper
Saw
E-6000™
Clear Finish |
See the Wood Carving section for more instructions, hints, and tips.
This is a relatively difficult project because of all the angles and planes. Use your own hand as a model.
- Copy the clipart and enlarge it so that the hands are about 3 1/2" high. Glue it to 3/8" basswood using stick glue. Cut it out using a scroll or coping saw.
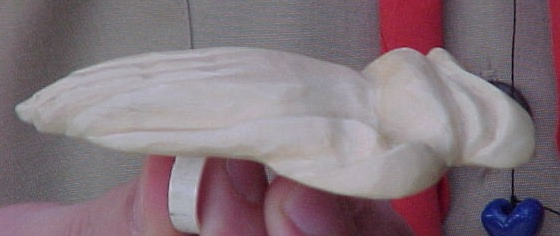
- Slope the thumb down about 1/8" from the base to the tip.
- Start to separate the hands at the little fingers. Make a straight in cut at the edge of the left hand (the left hand is in front, the right hand behind). Now make a V cut into the straight cut. Note: the key is to not make the right hand so big that it looks like they missed getting their hands together. You just want a little of the right hand little finger to show. The right hand should angle down toward the tip of the finger.
- Shape the left hand. There are four planes: one for the back of the hand and three for the segments of the fingers as they curve toward the right hand kind of forming a cup. Pay attention to where the knuckles are - use your own hand as an example.
- Draw in the four fingers. The first three fingers are about the same size, the pinky is thinner. Draw the lines appropriately. Make a line down the middle of the hand; allow slightly more space for the first two fingers. Now split the two areas in half to form the other fingers. Make thin V cuts along the three lines to separate the fingers.
- Adjust the relative length of the fingers by cutting or sanding the tips. Use your own hand as a model.
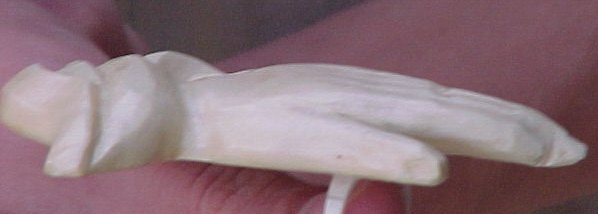
- Trim a little off the back side by the thumb and pointer fingers and the little finger of the right hand so they aren't so thick. This will give them better proportions.
- Round the back of the hand.
- Cut the sleeves of the garment. Make your lines and angles smooth and flowing.
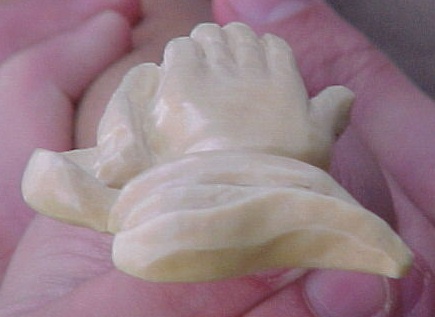
- Put three shallow groves on the back of the hand for the depressions between the bones that go from the wrist to the first knuckle of each finger. Start between the fingers and make the groove to a spot near the base of the hand.
- At this point we have finished the carving. Now's the time to go back and make little changes to make it look better. Round the fingers.
- Clean out V cuts with a sharp tool like a dental pick.
- Sand it smooth. It is much easier to get into the corners if you use a Dremel™ tool with a Marsh™ sander.
- To finish this project you have several options. You can paint the garment and / or hands. Painting hides the wood and makes it look more like plastic unless you are a good artist. I like to finish them with a few coats of Deft™ spray satin finish.

To make a neckerchief slide, glue a PVC ring to the back using E-6000™.
To make a display, mount on a contrasting piece of wood with a couple nails.
My friend Bob Case who taught me this, polishes them. This gives them a warm shine that doesn't distract you from the hands themselves.
Copyright © 2006 Vincent Hale